
Have you ever wished you could convert your regular photos in your iPhone’s Portrait Mode? While the iPhone’s built-in capabilities might not allow this, several third-party apps provide ways to imitate the depth-of-field effect, giving your photos a polished appearance.
This article will explain how portrait mode on iPhone works and how to Convert Regular Photos to Portrait on iPhone.
Why You Should Convert Normal Photos to Portrait
Portrait Mode employs depth-sensing sensors and artificial intelligence to separate the subject from the backdrop.
The iPhone’s camera generates a depth map of the scene during Portrait Mode photography, which is then utilized to selectively concentrate on the subject while blurring the backdrop. This information is lacking in typical photographs.
Can You Convert Regular Photos to Portrait on iPhone?
Although the iPhone’s Portrait Mode has revolutionized mobile photography, many people are curious whether it is possible to apply this effect to regular photographs.
Unfortunately, the depth data required for this effect is acquired at the moment of shooting the shot, so you can’t use the iPhone’s built-in capabilities to convert standard photos to Portrait Mode.
So, Photos taken with the iPhone’s built-in camera cannot be converted to Portrait Mode, but many third-party apps can achieve a similar effect. The Portrait Mode can be replicated with the help of apps like Focos, Slør, and AfterFocus.
These apps let you modify the depth effect in post-processing and apply it to shots that weren’t captured in Portrait Mode.
While they fall short of the iPhone’s Portrait Mode in terms of hardware fidelity, these apps are nonetheless valuable resources for photographers interested in exploring and improving the capabilities of mobile photography.
How to Convert Regular Photos to Portrait on iPhone?
Although you can’t immediately change a regular photo on your iPhone to Portrait Mode, many third-party programs can simulate this depth-of-field effect. Here are some notable examples:
1. Focus
Popular app Focos is well-known for its potent bokeh and depth-of-field effects. It enables you to mimic wide apertures to produce authentic bokeh effects, which are often only attainable with DSLR cameras.

Any image can be imported, and the gradient mask and bokeh effect can be readily adjusted.
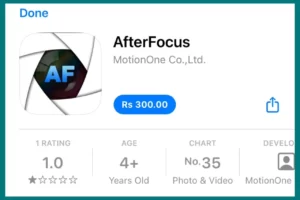
2. AfterFocus
Another app that gives your photos transparency like a DSLR is AfterFocus. Upload the image into AfterFocus, then use the smart focus area selection feature to designate the areas you want to be in focus. This program also offers filter effects and background blur.
3. Slør
An application created exclusively for editing Portrait Mode pictures is called Slør. It also functions with common photographs.
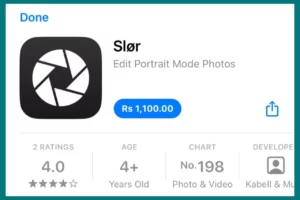
You only need to load an image, and the program will instantly build a depth map that you can customize. Although it doesn’t replicate the effect quite as well as a real depth map from a Portrait Mode photo, it comes close.
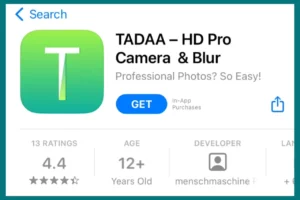
4. SLR Tadaa
Even if your images weren’t taken in Portrait Mode, Tadaa SLR enables you to be creative with them. The depth of field, bokeh, and lighting may all be changed, and the masking tool enables you to exactly define your focal region.
How to Use Portrait Mode Directly on iPhone?
With iPhone 7 Plus release, Apple included a new and unique camera mode called Portrait Mode. Since then, it’s become standard equipment for repeat models.
All the models starting from iPhone 7 Plus to all subsequent models released to date, work with Portrait Mode. Professional photographers utilize this function to achieve the ‘bokeh’ effect, in which the subject of an image is in focus, but the surrounding is blurred slightly.
Activating Portrait Mode is a breeze. Using your iPhone, open the ‘Camera app’ and scroll right to access the ‘Portrait’ mode, located directly above the ‘Photo’ mode. Natural, Studio, Contour, Stage, and Stage Mono are the subsequent lighting options.
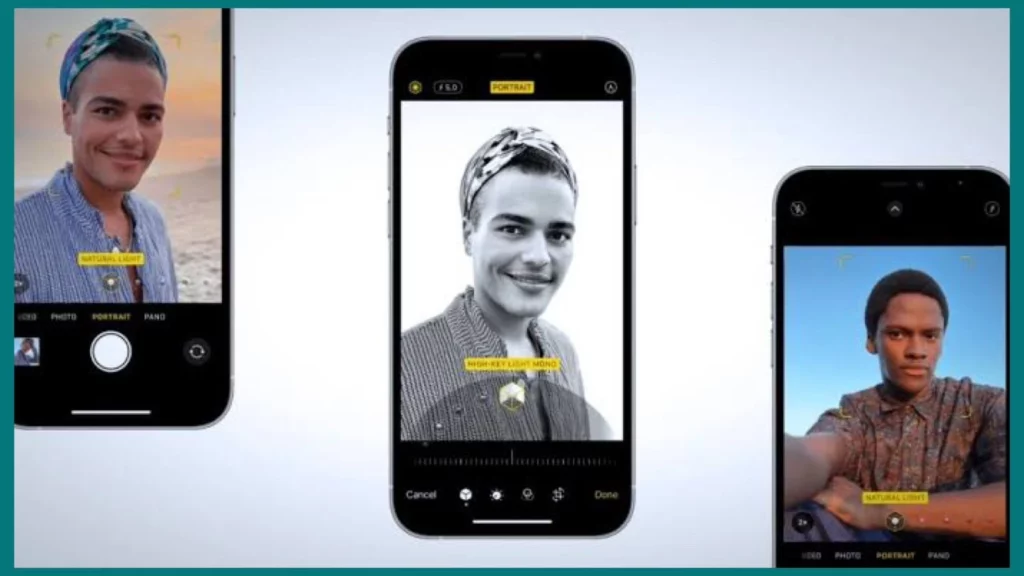
For the best results, the depth effect is achieved when the subject is between 2 and 8 feet from the camera at the capture time. When the lighting effect, such as “Natural Light,” has been properly adjusted, its name will appear in yellow.
After snapping a photo, you may edit it in the Photos app to alter the depth and lighting effects. Click the “Edit” button and move the slider to your desired setting.
Benefits of Portrait Mode Images Over Normal Images
- Portrait Mode improves photographs by focusing on the subject and blurring the background.
- Using this setting makes your pictures look more polished and professional.
- It works wonderfully for photographs of people, animals, or anything else you want to highlight.
- Lighting and depth of field experiments are essential.
- The secret to taking excellent pictures is finding the ideal lighting and background for your subject.
Conclusion
In conclusion, even though the original Portrait Mode cannot be replaced, these programs offer a promising option.
They provide original methods for editing and enhancing your images, giving them the necessary depth of impact. So, start experimenting, learn new techniques, and let your creativity flourish as you explore mobile photography.