
Are you trying to find where MP3 files get saved on an iPhone? Knowing where your MP3 files go after downloading or purchasing them is essential in this technological age.
This article will explain where your mp3 files are saved on your iPhone.
Where Do Saved Mp3 Files Go on iPhone?
Depending on where and how you obtained the files, the response differs. Let’s investigate many situations.
1. iMessage Audio File
An MP3 file that you get through iMessage typically shows up in the chat. To listen to the file, tap on it. It isn’t, however, instantly preserved in your file system or Music app. Consider storing it on your computer or a cloud storage provider if you want to retain it forever.

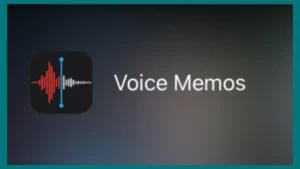
2. Voice Memo
Any MP3 recordings you’ve made with the Voice Memos app are kept in the app itself. The Voice Memos app lets you access and manage your recordings.
3. WhatsApp
MP3 files are typically retained within the WhatsApp chat when received via the messaging app. Open the relevant chat, look for the media, and tap the MP3 to play it. These files are kept in the WhatsApp app and not in the Music library of your iPhone.

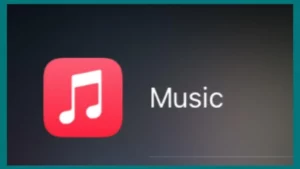
4. Music App
The Music app on your iPhone contains the MP3 tracks you’ve contributed to its music collection. If you have a subscription or iTunes on your computer, you can add MP3s to your library through Apple Music. The app will arrange them by songs, albums, artists, and playlists.
It’s important to remember that iOS is built to manage files in a controlled environment, frequently keeping them in the app that created or received them.
Use cloud storage options like iCloud Drive or third-party file organization programs if you’re searching for additional control over your file management.
How To Save Mp3 Files On iPhone?
Depending on where the MP3 files came from, there are a few different ways to save them to an iPhone. Here is how to go about it.
1. iTunes Sync
If you have MP3 files on your computer, you can sync them with your iPhone using iTunes. Open iTunes, choose your device, then connect your iPhone to your computer.
Select the MP3 files you wish to sync by going to the “Music” section, checking the “Sync Music” option, and doing so. To add the files to the Music app on your iPhone, click “Apply.”
2. Apple Music or iCloud Drive
You can instantly add MP3 files to your library if you have an Apple Music subscription. Click on your profile in Apple Music, then choose “Manage Downloads.”
You can include music files here. Alternatively, you can transfer MP3 files to the cloud using iCloud Drive and access them on your iPhone using the Files app.
3. Third-Party Apps
You may download and save MP3 files using third-party apps available on the App Store. Most of these apps have a built-in browser that can be used to discover and download files. Normally, you can access the files inside the program once downloaded.
4. Email or Messages
You can tap on an MP3 file to play it if someone delivers it to you via email or message. You might have the choice to save it on your iPhone from there. Remember that these files might not be directly placed in your Music collection but within the appropriate app.
5. Cloud Storage
You can upload MP3 files to cloud storage services like Dropbox, Google Drive, or OneDrive and access them on your iPhone by using the corresponding app.
Make sure you have legal permission to save and use the MP3 files you are adding to your iPhone because copyright rules do apply to music files.
You can easily save and play your favorite MP3 files on the Music app on your iPhone or other compatible apps using the abovementioned methods.
How to Restore Deleted Voice Messages on An iPhone?
Deleted an audio message on your iPhone by mistake and want to get it back? If you’ve been careful to save data backups, iCloud has the answer. Use these simple techniques to find your deleted audio message.
- Start by signing into your iCloud account using the iCloud Drive app on your iPhone to access iCloud Drive.
- Within iCloud Drive, scroll down until you see the “Recently Deleted” option that is located at the bottom of your screen. To continue, tap on it.
- Choose the audio message you want to recover from the list of recently deleted items by browsing through it.
- Don’t worry if your desired audio file isn’t shown under the “Recently Deleted” section. For additional recovery options, go to the “Advanced” section of the Account Settings menu.
- The essential “Restore Files” option can be found in the “Advanced” section. To start the recovery procedure, tap this.
- A list of files that can be restored will be shown. Carefully pick the audio files you want to save.
- Complete the process by selecting your desired file and hitting “Done.” Your chosen audio files will start the repair process right away.
Conclusion
Understanding where to save files and how to recover them is crucial in the changing world of iPhone data management. Learning these tricks enables users to manage their devices confidently and save priceless data, from protecting MP3 files through various approaches to recovering deleted audio messages via iCloud.